Wild…But Not….WILD – At The Zoo

posted in: Tips and Tricks 0

With cooler weather coming, it's the perfect time to go on safari - at your local zoo! The zoo is a great place to take a camera - and below are a few tips to help you get the best images possible on your next trip!


Research

Check The Rules
Before you get in the car and make the trip, you may want to do a bit of research into the zoo to find if there are any restrictions about photography. The use of flash, for example, may not be allowed at the location (I wouldn't recommend using one anyway) or the location may have restrictions on the use of tripods. Better to check before trying to lug a bunch of gear that you won't be able to use through the gate. If your facility doesn't allow tripods, check to see if a monopod (a one-legged tripod) would be acceptable. Monopods are great for stability especially with longer lenses when a tripod can't be used.

Check The Layout
If possible, go online and find a layout or map of the location. This will give you a rough idea of the lighting direction for the outdoor exhibits. You don't want to start the day shooting into the sun, and finish up in the afternoon...shooting into the sun.

Check The Feeding Times
If possible, learn the feeding times for the exhibits. Some facilities even make a show at feeding time, so plan for it and get that shot of the alligator tearing into its lunch! Most animals become more active at feeding time (although a lot of times they're just pace back and forth near the feeding door) - the down side of feeding time is that most people realize the animals are more active at feeding time, so you'll probably have larger crowds to deal with.

Getting The Shots

When To Go
For the most part, go as early as possible! Early hours at the zoo means more dramatic lighting, fewer people to contend with, and the cooler weather tends to make for more active animals. Overcast days are also great for zoo photography, providing soft lighting for subjects and fewer reflections from fences and enclosures.

Keep It Stable
If your facility doesn't allow tripods, or you just don't want to carry one around, make use of surrounding structures to stabilize your camera whenever possible - especially when shooting with a long lens. Consider carrying a beanbag with you - it can be placed on fence posts, rails, etc. giving a soft but stable platform to rest the camera or lens on to make it more stable. A monopod is a good option as well - easy to carry and not as obtrusive as a tripod.

Fences, Wires, Nets
One of the biggest problems with zoo photography is the presence of fences, wires, nets, and other barricades - but they are there for a reason (so don't climb over, stick your hand through, stand on top of, etc.!). When shooting through wires, nets, etc. - unless you can get a clear view through the mesh openings (although I wouldn't stick my lens through the wire mesh at the monkey house!), get as close as you can to the mesh and use a large aperture. The shallow depth of field that the large aperture provides will throw the mesh so out of focus that it will virtually disappear (especially with longer lenses). Finding a spot where the fence, wire, etc. is in the shade will also help make it vanish using this technique.


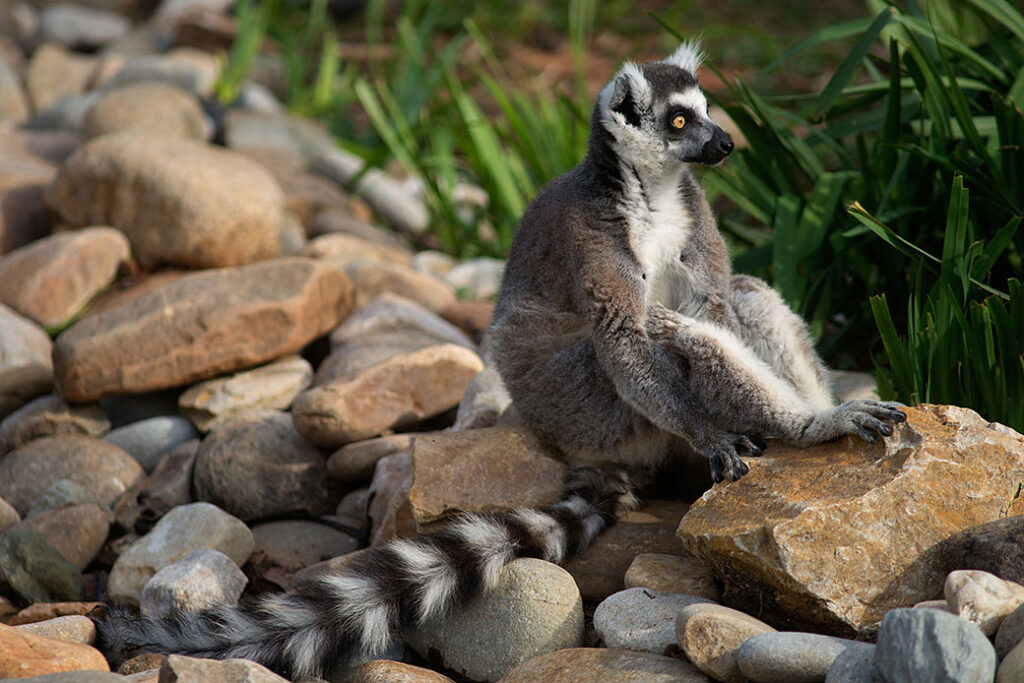
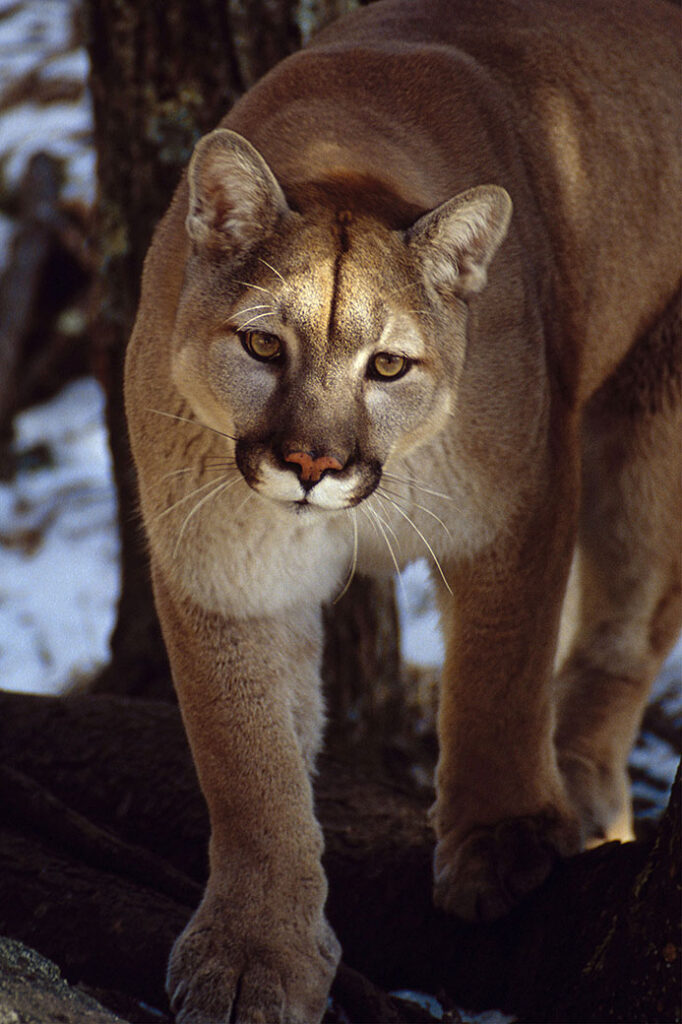
This was shot through a pretty heavy-gauge fence material (thank goodness). Getting close (but not TOO close) to the fence and using an open aperture reduced the depth of field to the point where the fence disappeared.


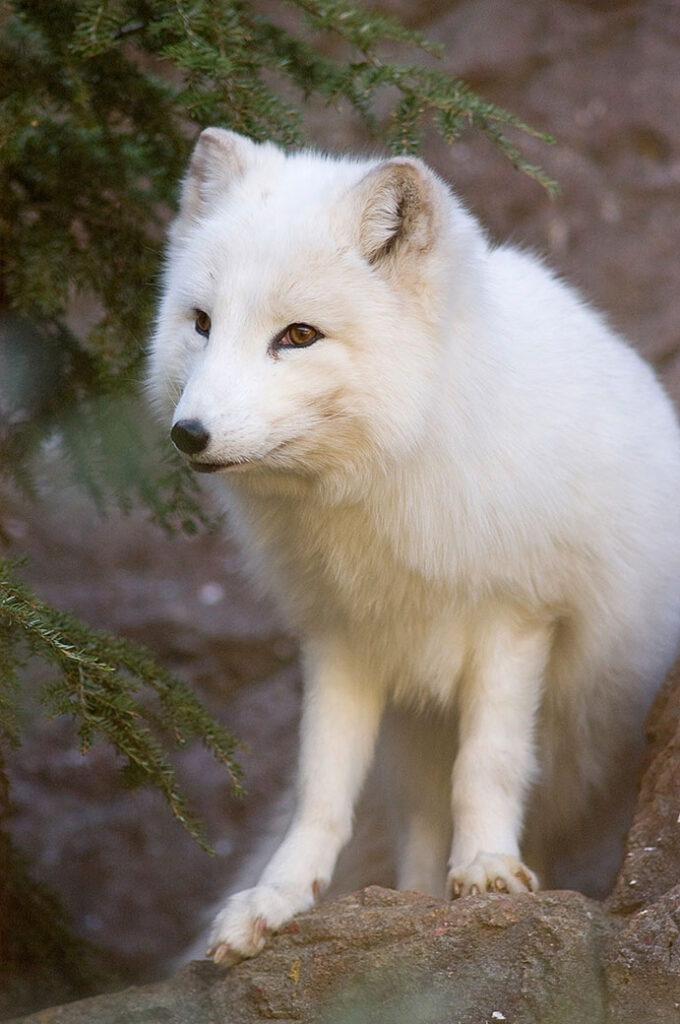
This was shot through a tight-mesh netting material but I was able to get right up on it to the point where it disappears.

Glass
Another common exhibit enclosure is glass, but, if you can find a spot that doesn't have little Johnny's nose prints, shooting through glass is not a problem. When shooting through glass, get as close to the glass as possible (if you have a rubber lens hood, put it right up against the glass) - this will reduce or eliminate any reflection that the glass is creating (and will prevent your photos from looking like a bunch of photos of you holding a camera). Another solution when shooting through glass is a polarizer filter. A polarizer can reduce or eliminate reflections from glass or water - it can also be used to saturate colors by reducing reflections from leaves, etc. that may wash out colors. Keep in mind that using a polarizer can cost you as much as 2 stops of light, so keep that in mind. And, by the way, resist the urge to tap or knock on the glass.


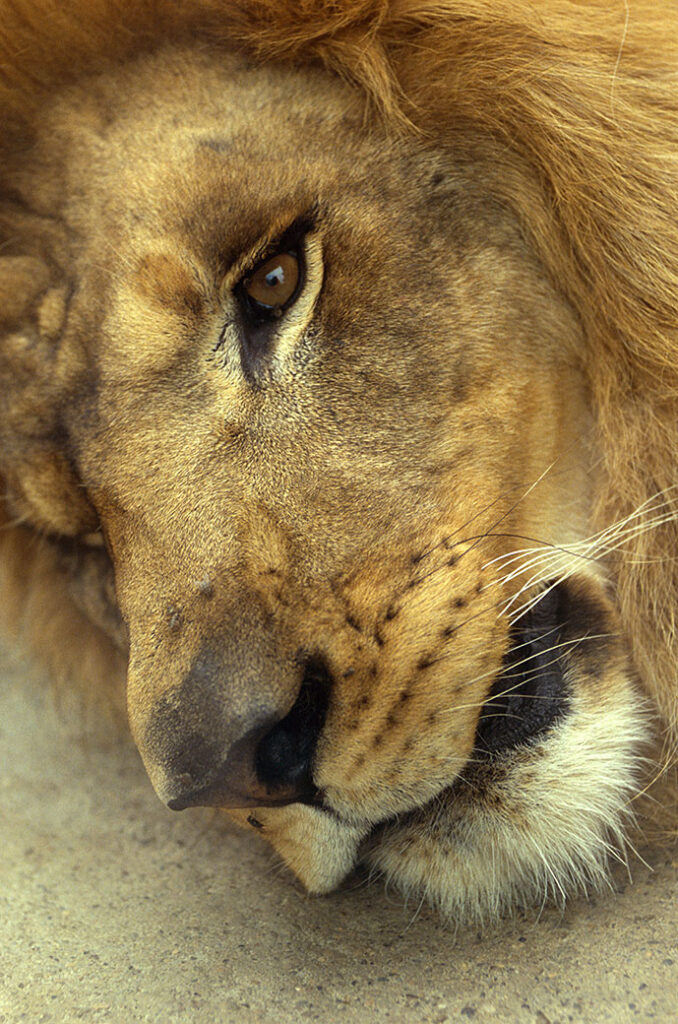
This was shot through glass. I placed my rubber lens hood right against the glass, eliminating any reflection. The glass actually stabilized the camera enough to shoot this at a fairly slow shutter speed.


Another shot taken through glass by putting the lens hood right against the glass.

The Eyes Have It
When shooting with fairly open apertures to eliminate fences and wires, you're reducing the depth of field in your shot. As with virtually any animal photography, the most important thing to get in focus are the eyes. If the eyes aren't in focus, the image typically doesn't work - but if the eyes are sharp, then the image will probably work even if other portions of the animal are blurry.


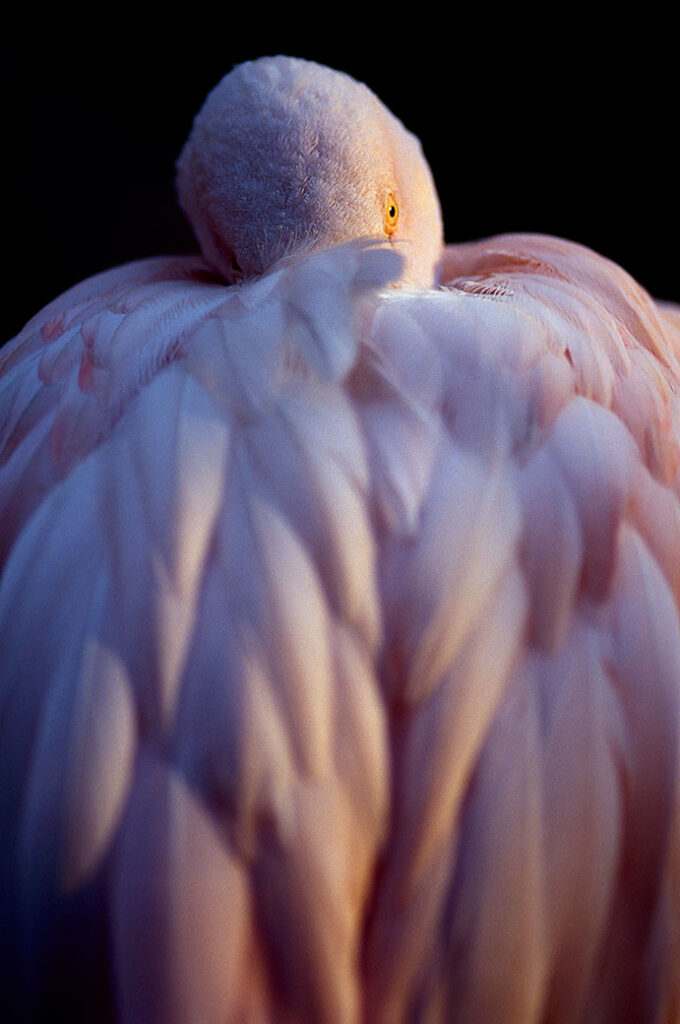
The eye in this photograph is about the only thing that IS is focus, but the image still works.


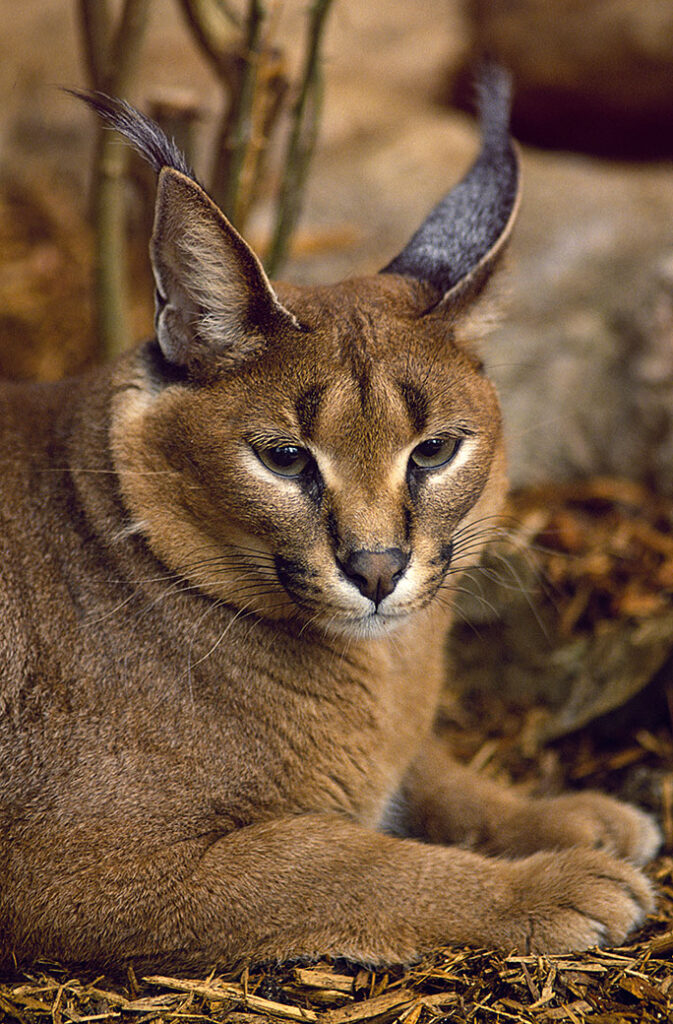
Eye contact is a strong element, so if you can get your subject to look at you, you will probably get a good shot. Don't get carried away trying to get your subject to look at you by banging on the glass, yelling, etc. - let's get these photos without upsetting the subjects. Be patient, and at some point, your subject will probably look your way.

Watch The Background
Modern zoos attempt to make the exhibits look as natural as possible, but there are usually some unnatural elements present. Pay attention to the background of your photos and try to eliminate elements that could "spoil the mood" - like a big "Employees Only" sign on the utility door or the industrial-looking pump in the watering hole.


The building just out of the frame on the left would have been a distraction if kept in the composition. The fence in the background is beyond the shallow depth of field that a large aperture provided, making it almost unnoticeable.


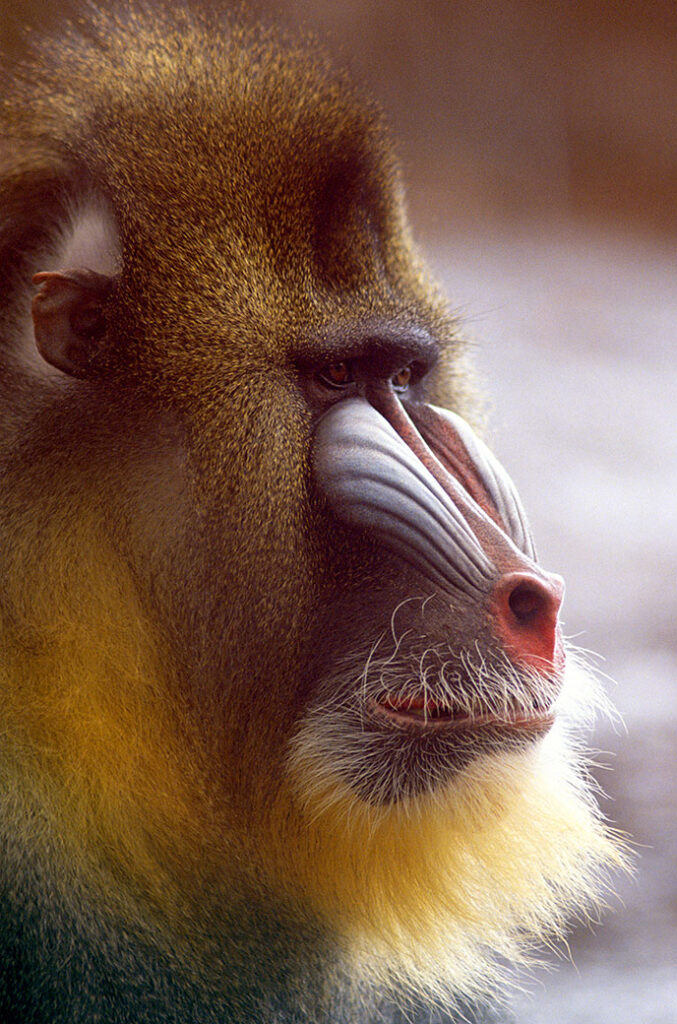
One way to avoid a cluttered background is to eliminate it completely. Don't be afraid to get in close! (use a long lens to get close - I don't think you would want to walk up to this guy).

Patience Patience Patience
When at the zoo, most people spend at most a couple of minutes at each exhibit. If you're not obstructing someone else, wait a few minutes and see if that lion wakes up.


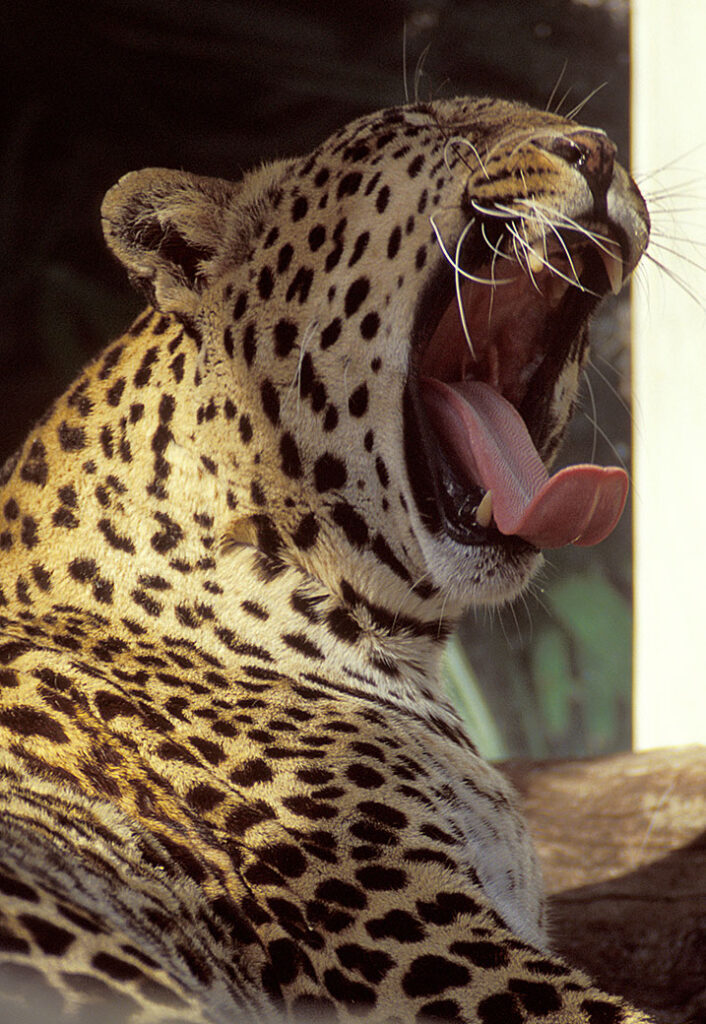
Even a sleepy subject can provide a good photo opportunity if you wait for it.

To Flash Or Not To Flash
Personally, I don't like using a flash at the zoo - as a primary light, it's too harsh and too many things reflect the light back without you noticing it until you look at your image. I also believe that an electronic flash can cause unnecessary stress to the animals. If you're going to use a flash, try to use it more as a fill light rather than the primary light source - this will make for a much more natural look. Also, when using a flash through glass, shoot at an angle to prevent a reflective glare created by the flash. If you're shooting inside without a flash, you may need to crank your ISO setting up a bit to 800, 1200, even 1600. This will create a bit more noise in your image, but you're probably going to need the extra speed to be able to use a fast enough shutter speed. Many zoo subjects are quite static, you can actually use a fairly slow shutter speed (1/15 sec, 1/8 sec) as long as the camera is stabilized somehow (tripod, beanbag, etc.).


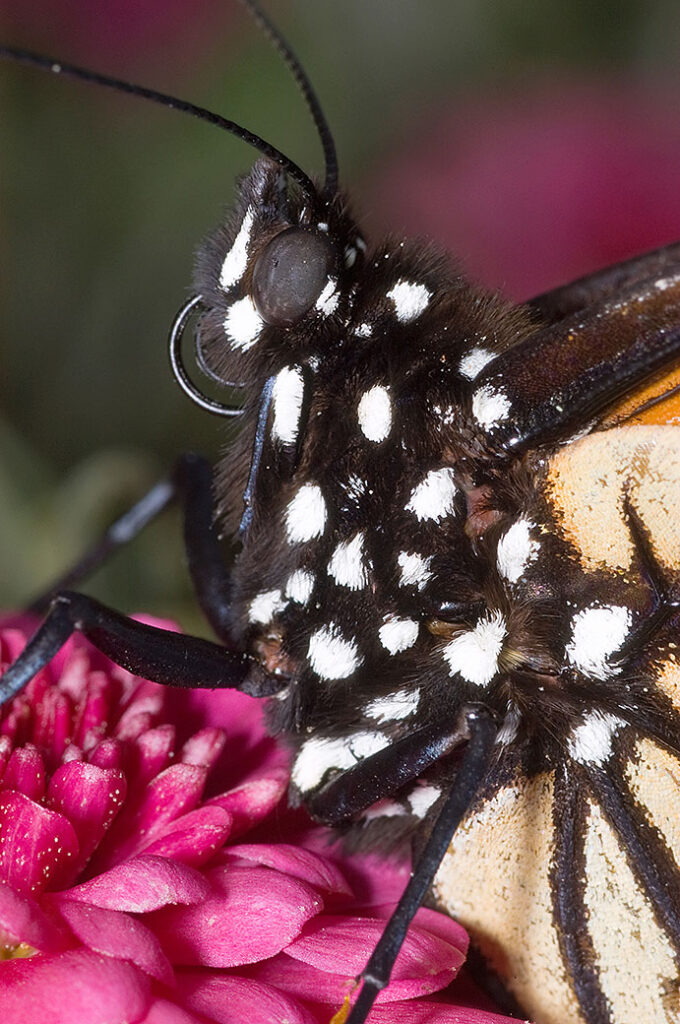
This was taken with a small electronic flash placed over a macro lens. When shooting this close, the light from the flash is a bit softer due to the relative size of the light source compared to the subject.


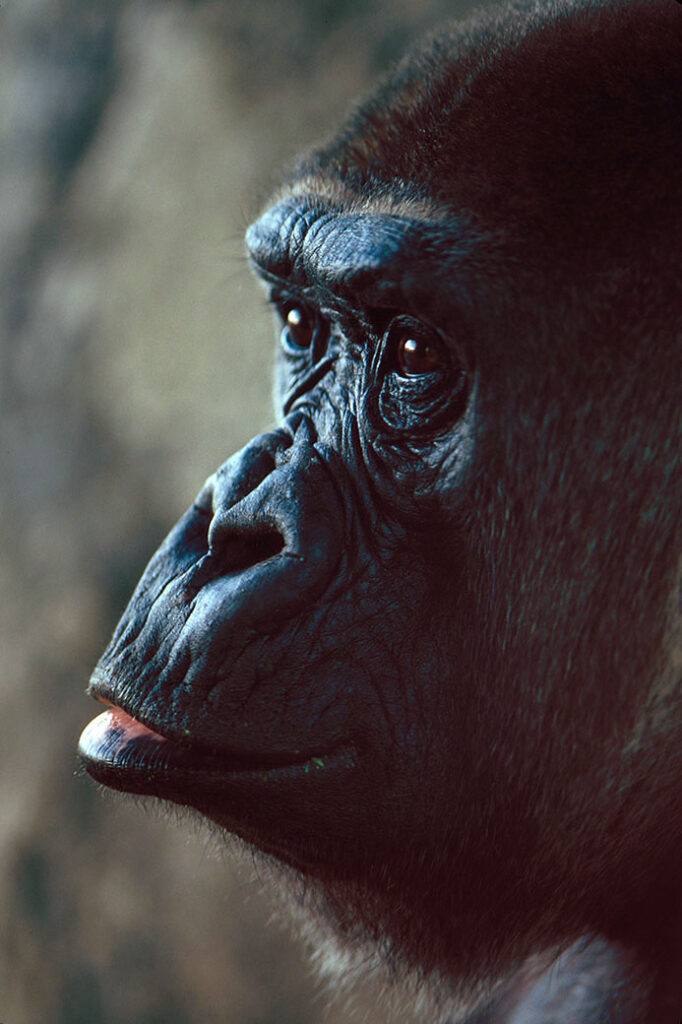
The existing light of this indoor exhibit provided a sense of mood for this image.

Tag - You're It
Many zoo specimens are tagged, meaning they have some sort of identification that is visible (a lot of times in the ear). You may not be able to avoid getting these tags in your photos, but when possible, get the subjects "good side" without the tag. (Many wild animals are also tagged - the vast majority of black bear in the Smokey Mountains National Park have some sort of identification tag.)

Look Everywhere
Zoos today are more than just a collection of exotic animals - they are more like parks, complete with gardens, natural areas and picnic spots. Take notice of the areas outside of the exhibits and you'll find plenty of photo subjects!


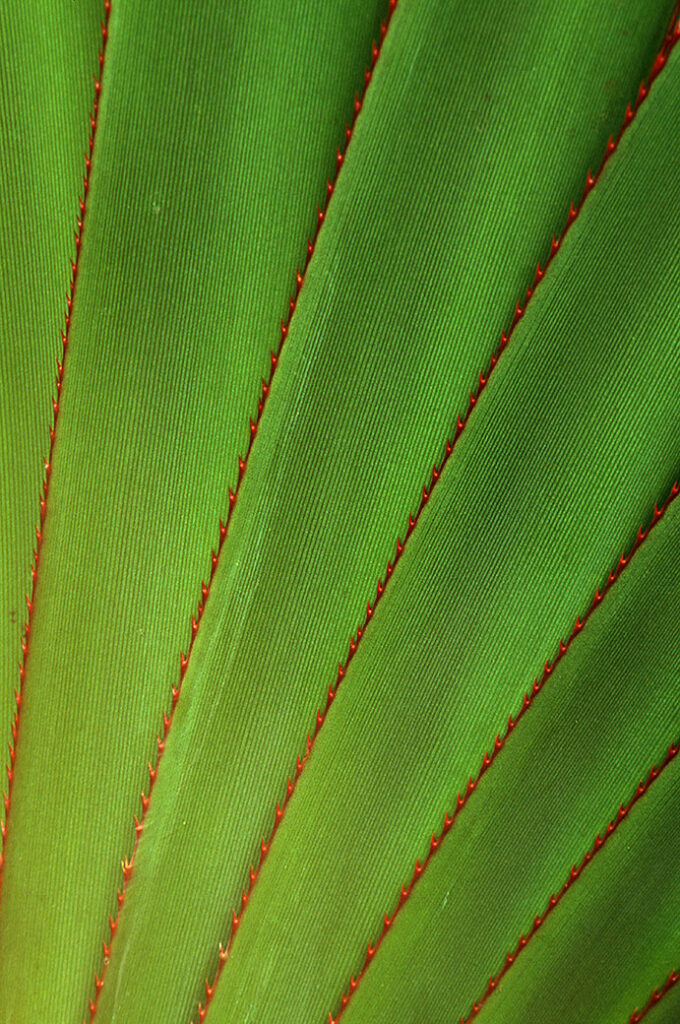
The red teeth on this plant growing next to the walkway caught my eye.


This resident wasn't really a resident - but he wanted his picture taken anyway.

Keep Notes
Not that it will have any effect on your photos, but remembering what you have a photo of is kinda nice. Take notes of the exhibits you're shooting (or, better yet, take a picture of the information panel that the exhibit usually has). That way when someone says, "Great shot! What is that?", you can tell them more than "A brown, fuzzy bear-like critter".

Is It Hot In Here?
Most zoos have a reptile house of aviary or butterfly exhibit - or all of the above - in an indoor, climate controlled area...and these are usually kept pretty warm. If you're at the zoo on a cold day and walk into one of these environments, it's likely that your lens will start to fog up due to condensation. DON'T WIPE IT OFF! Even with a lens tissue, you will only streak the moisture around and it will come back until the equipment has adjusted to the change in temperature. There are a couple of ways to avoid this: 1 - take your camera into the restroom and let the hand dryer blow on it for a while. This will warm up the camera and prevent any condensation when entering a hot environment. You also even do this to speed up the drying process if your lens has already fogged up. 2 - Put your camera in a plastic bag before entering a warm environment. The condensation will occur on the bags surface instead of the camera, but you'll still need to wait a bit to allow the camera to warm up.

Lots Of Other Animals
If you enjoy taking people pictures, the zoo is a great place to be. People experiencing new things makes for great photo opportunities (especially excited kids when seeing some majestic creature for the first time).


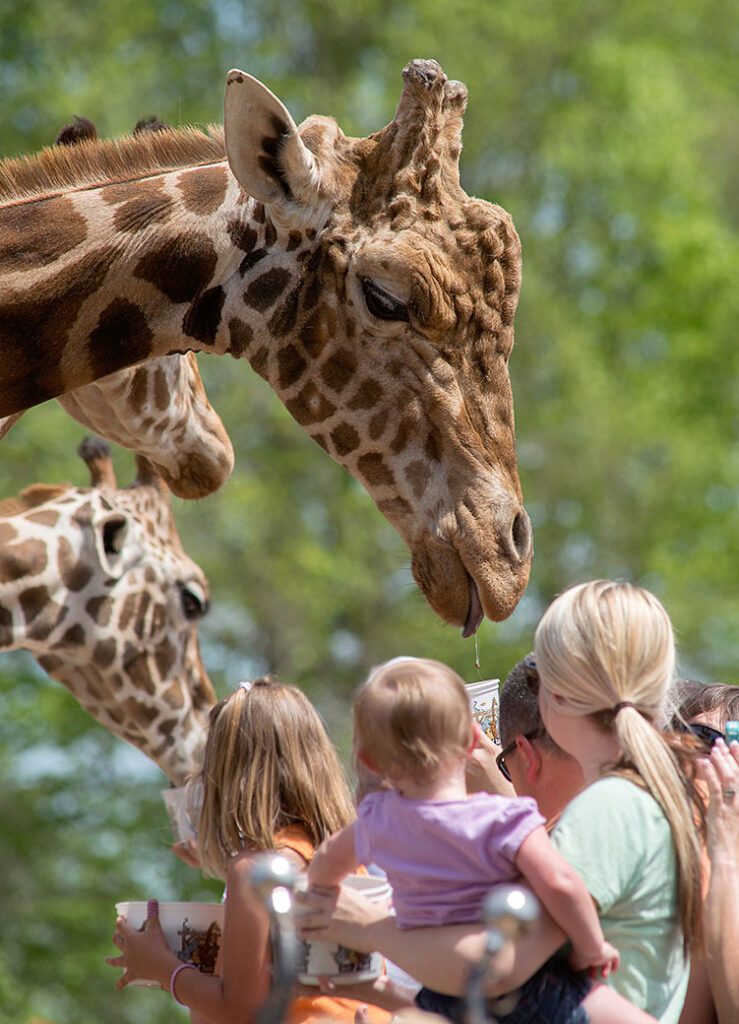
The crown feeding these gireffes really gives a sense of the size of these creatures.


This adorable little girl caught my eye at the petting zoo - and no, those are not M&Ms.

Be Considerate

You're Not The Only One There
It should go without saying that your photography shouldn't come at other people's expense. Be considerate of other guests - if your facility allows the use of tripods, don't set it up and block the whole walkway, and don't freak out if someone bumps into it (there are a lot of excited kids running around) - and if others are waiting to view the exhibit, don't spend hours there making them wait for you to get that "special shot". Give the animals a break as well. Avoid the temptation to tap on glass or yell to get an animal's attention - and DO NOT FEED any of the animals unless it is food provided by the zoo for that particular species. In other words, use some common sense - and get some great pics!