It's that time of year again - cold, snowy, icy - perfect weather to stay inside by the fireplace - OR - you can take advantage of the weather and capture some unique photographs! With a layer of fresh snow, even the most familiar locations take on a whole new look and feel - so let's take advantage of it! Below are a few tips to get the most out of your winter photographs while protecting yourself as well as your equipment.
1: Be Comfortable
Getting out there and capturing all those wonderful winter images should be enjoyable - but if you aren't comfortable, you're not going to enjoy anything and won't be able to concentrate on getting the best images you can...or worse, you ARE enjoying yourself to the point that you don't realize that you're cold, and hypothermia sets in. Dress in layers, preferable in clothing that can breathe and keeps moisture away from the body - avoid cotton, as cotton holds moisture next to the body accelerating the potential for hypothermia. A good, breathable but waterproof/windproof outer layer with a hood or a good wool or fleece hat is also desirable. Keeping your feet warm goes a long way towards staying comfortable, so waterproof boots and wool socks are especially desirable.
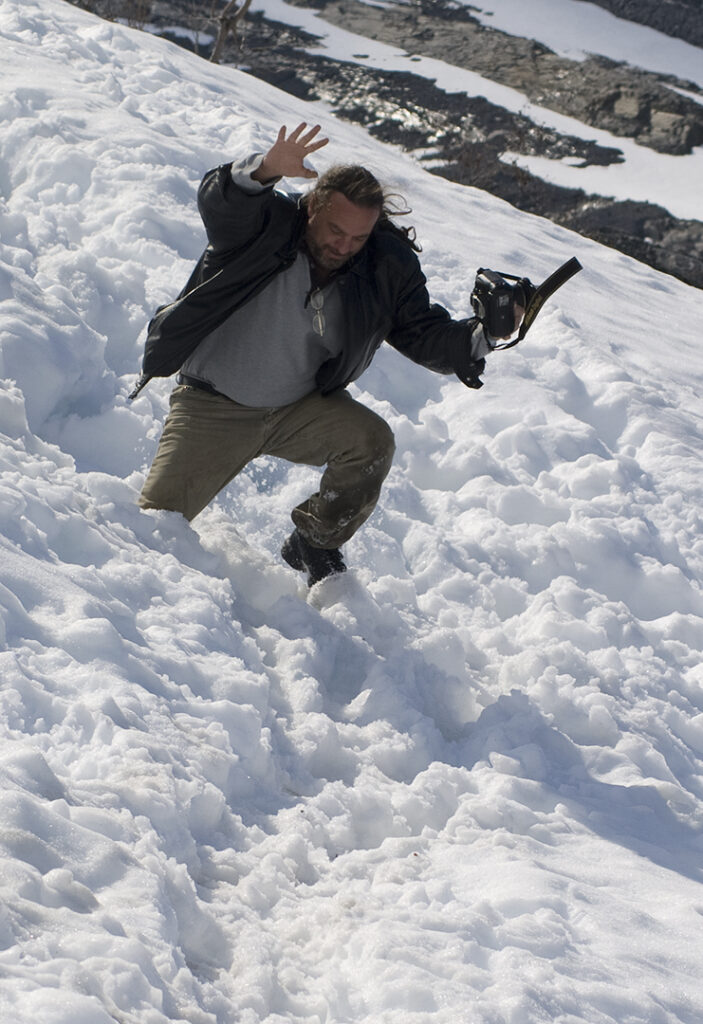
Now the tough part - keeping your hands warm while operating your camera. Big, bulky gloves or mittens will keep your hands warm, until you have to take them off to change a camera setting, or even release the shutter. Glomitts are a great solution - fingerless gloves with a flap that can be folded over the fingers turning them into mittens. In extreme cold situations, glove liners can be worn under the glomitts for extra protection. Glomitts can be purchased at any outdoors shop, but you can also make a pair if you're handy with a needle and thread. If you have a warm pair of gloves (maybe even a pair with the fingertips worn), you can cut tips of the fingers off, then cut the end off of a wool sock and sew it onto the glove to create the flap.
Bright sunlight reflecting off the snow can damage eyes, so some sunglasses to prevent snow blindness is a good idea as well.
2: Protect Your Gear
Now that you have everything to protect yourself, it's time to consider your gear. Shooting in cold and potentially moist or wet situations can be hard on photographic equipment. while it may seem "dry", falling snow will soon turn into melted snow - otherwise known as water, which doesn't play well with electronics.
Camera - Resist the urge to blow the snow off your equipment as moist air from your breath will condense on your gear adding even more moisture to the situation. If the snow is dry, use a small brush to clean your gear - if it's a wet snow, keep you gear protected as much as possible and use a clean cloth to wipe moisture away. A shower cap (I keep the ones from hotel rooms when available) is a great way to keep your gear covered (especially while on a tripod) - a cheap waterproof solution that's easy to put on and remove. Also, avoid tucking your camera inside your coat to "keep it warm". Warm, moist air under your coat can condense inside the camera and create electrical problems that will cut your shoot short.
Lenses - Keeping the front of your lenses clear while shooting in the snow can be challenging. The best way to keep it clear is to keep the lens cap on until you're ready to shoot. If you need to keep the cap off for an extended period (to compose, take meter readings, etc.), use a UV or Skylight filter to protect the front elements of your lens. DO NOT wipe off an exposed front element of a lens if at all possible as it may scratch the delicate coating of the glass. Wiping off a UV filter is OK, just watch for smears and streaks. I will typically compose and take meter readings with a UV filter, then remove the filter for the actual exposure (unless the snow is blowing extremely hard). Using a lens hood will also help keep the front of lenses clear, as well as cut back on glare reflecting from snow and ice. Lens selection can also have an impact on lans and camera care when in a snowy environment. If you don't want snow on the front of your lens, you definitely don't want snow on the inside of the camera because you were changing the lens. Using a zoom lens with a wide range gives you the most flexibility without ever exposing the innards of your camera to the elements.
Batteries - Batteries and cold don't get along to well. Although the newer Lithium-Ion batteries perform well in colder temperatures, all batteries will lose their charge in colder weather - and the colder it is, the faster they lose power. Keep a spare set of batteries in an inner pocket to keep them ready to go to replace the ones that have gotten a bit chilly. Even though they may seem completely drained when they get cold, your "spent" batteries will actually regain some of their charge when they warm up - so put the spent ones in your inner pocket to bring them back to life should your fresh ones drain.
After The Shoot - Believe it or not, some of the worst damage to your equipment can occur after you've finished shooting. Bringing cold photographic equipment back into a nice, warm and cozy room can cause moisture to condense on, and worse, IN, your gear. Ideally, before you come back into a warm environment, put your gear into a sealed plastic bag. Condensation will form on the bag instead of your gear. Once the equipment has warmed up to room temperature, remove it from the bag.
3: Exposure Considerations:
Snowy scenes can be tricky to expose correctly - and when I say "expose correctly", I mean "expose predictably". Camera meters are calibrated for medium tones, which works well most of the time since most scenes have a large amount of "medium tonality". Well, that goes out the window with snow scenes. You camera's meter is going to see all that fresh, white snow and try to expose it as "medium toned" - but medium toned snow turns out to be gray - yuk! There are a couple of ways around this, but it take some consideration and a couple of extra steps.
Manual Metering - Using your camera in manual mode, take a meter reading off of an element that you want to appear as medium toned in your final image - such as the clear northern sky at about a 45 degree angle. Compare this meter reading with another meter reading taken from the brightest area of snow. This is to check if the snow will "burn out" if the scene is shot using the first meter reading. If the 2 meter readings are within 3 stops of each other, you should be fine. If the reading from the snow, however, is 4 stops brighter (for example), you may want to stop down a stop from your first reading to prevent the snow from washing out completely. This will make your medium toned object appear a bit darker, but it will prevent the snow from washing out. An option to avoid this situation is a split ND filter (see FILTERS below) which will bring the exposure difference back into a manageable range.
Automatic Exposure - While it would seem that "automatic exposure" would be fooled by a snow scene...well, it will...but there is a method to "teach" your automatic mode about correctly exposing a snowy scene - with the use of the exposure compensation setting. Adjusting the exposure compensation setting to to overexpose (the + setting) the scene will produce a properly exposed scene. The degree of exposure adjustment may vary depending on the scene. For example, on an overcast day, an exposure compensation of +1 should do the trick. Bright sunny days may require as much as +2 to keep snow from washing out. Either method you use to meter your scene, don't rely on that small LCD screen on the back of your camera to check your exposure. Learn and get used to using the histogram display to check your exposure. A good histogram display for a snow scene will favor the right of the scale without clipping on the far right side. For more information about histograms, check "Reading Histograms" posted earlier.
Exposure Warning Setting:
If your camera has an Exposure Warning setting, enable it. The exposure warning setting will cause areas that are blown out (too bright for detail) to blink when the scene is viewed on your LCD screen. It's normal to have a few small areas blinking (reflections and small highlight areas will probably have no detail naturally) - but large areas of snow or sky that are blinking are simply overexposed - use a smaller aperture or a faster shutter speed to prevent this.
Shot with normal meter reading and auto white balance - underexposed and too blue
White balance set to 6400 kelvin, metered off the palm of my hand (about +1.5 stops from above meter reading)
Avoid The Blues:
Fresh, white snow seems like it would be easy for your camera's automatic white balance to handle - but that white snow is reflecting a lot of blue is the skies are clear, causing your images to shift unnaturally blue. One solution is to shoot everything in RAW format, which allows you to adjust the white balance of your photographs in post-production - an ability that shooting in JPEG or TIFF format doesn't offer. The only problem with this is trying to remember how the scene looked after the shoot. If you're a purist and want to replicate the scene as closely as possible, your best bet is to make the corrections in-camera by adjusting the white balance setting. If your camera has the ability to manually dial in the kelvin temperature, try a setting of 6200 to 6500 kelvin - this should give very accurate results reproducing the white of the snow without making it too warm. If your camera does not have this ability, try setting the white balance setting for "flash" or "cloudy". The "flash" setting compensates for some of the blue tint that typically comes from flash illumination (roughly the kelvin equivalent of 5500 to 6000 kelvin) - whereas the "cloudy" setting corrects for bluish tones that occur on cloudy days (typically about 6500 kelvin). The combination of adjusting your white balance AND shooting in RAW format will give you the closest thing to a "correct" white balance setting.
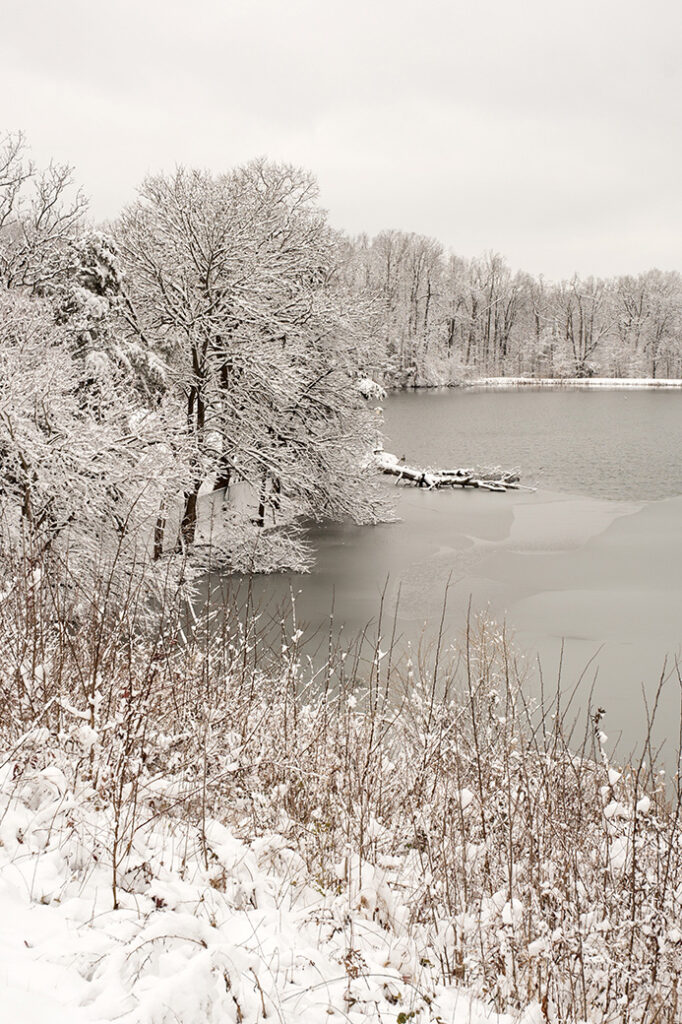
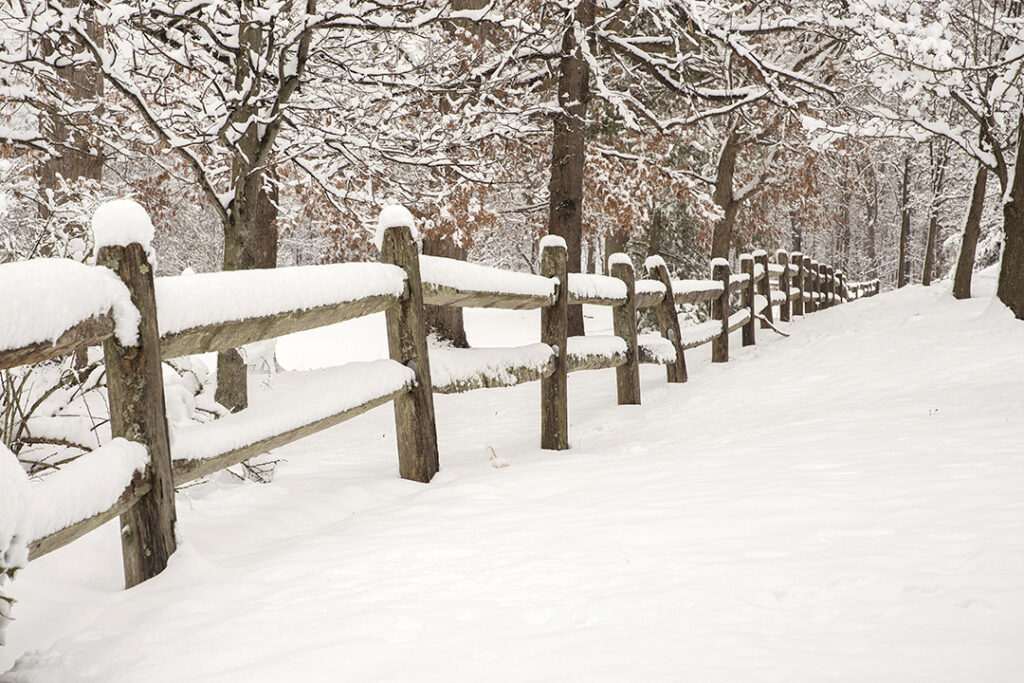
Correct white balance can vary with different lighting. The snow in the background of this image is in deep shade, causing it to shift blue, The snow on the fence is in sunlight - a difference of about 1200 kelvin.
Keep Focused:
Automatic focus on modern cameras is great - but it can become confused. Large areas of extremely low contrast or even falling snow can make things difficult for your camera's auto focus system, as it is unable to find enough contrast to lock focus - or worse, focuses on the falling snow. There are two ways to get around this: 1: point your camera towards something the same distance as your desired composition - a rock or tree - and lock the focus in (but pressing the focus lock button or holding your finger down half way) then recompose and shoot. 2: Simply shift to manual focus - but don't forget to shift back to auto focus when you're finished.
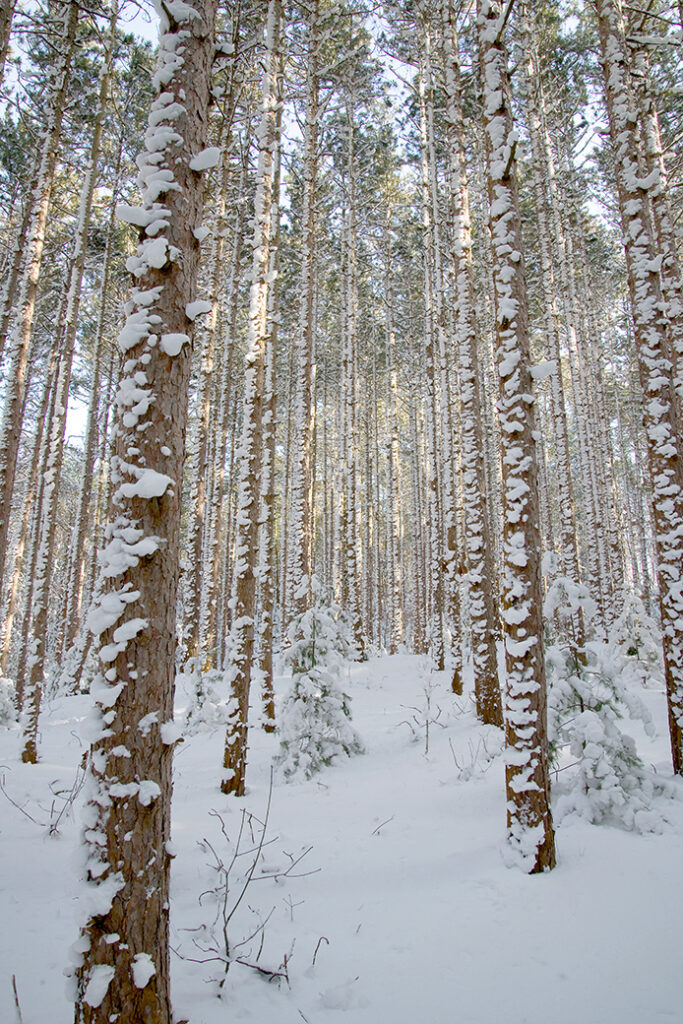
![]()
My auto focus, with its sensor located in the center of the viewfinder, was not able to lock on the snow. I panned up a bit to let the camera focus on the trees, locked the focus (personally, I shift to manual focus after the camera has locked its auto focus - that way I don't have to hold the release button or the AF lock button to keep the focus) and recomposed the scene the way I wanted it.
Filters For The Snow:
I've never been a big fan of the "heavy use of filters to alter the scene" - but there are a few filters that will "enhance" the scene that I use all the time - and Winter falls into that time frame.
UV or Skylight:
UV or Skylight filters aren't really filters at all in that they don't alter the image. (OK - so a UV filter filters out some UV radiation which could shift you colors a tad, and a Skylight filter may have a slight warm hue - but they really don't alter the image to a noticeable degree). What they DO do is protect the delicate front element of your lens from snow, ice and moisture.
Polarizer:
A polarizer can be used to darken blue skies, enhance detail by reducing reflections from water, fall foliage - and snow. Using a polarizer will reduce glare from snow scenes and provide more detail overall. But beware - it's easy to "over-polarize" a winter scene due to the low angle of the sun producing an unnatural looking image. The amount of polarization can be adjusted and monitored visually, though, by rotating the front of the polarizer while composing your image.
Split or Graduated Neutral Density:
A split, or graduated, ND filter is a filter that is completely clear on one half, then graduates to a neutral, light reducing area on the other. Using a split ND allows you to correctly expose a very bright area of a scene (a bright, white snowy field) along with a darker area of a scene (the deep blue sky or an expanse of evergreen trees) by positioning the graduated split between them. This allows you to maintain detain in the snow as well as the evergreens. While split ND filters are available as a standard screw-on filter, I prefer using the Lee or Cokin system filters which are square filters that slide into a holder mounted on the lens. This allows me to adjust where the split in the filter falls to match the composition I want, as opposed to being locked into compositions that are split in the center because that's where the filter is split. Split ND filters are available in several densities, meaning how much light the ND section blocks out. A 3-stop filter usually works well for common snow scenes.
![]()
Using a polarizer darkened the blue sky and eliminated glare and reflections from the water in the foreground.
Composition:
Good composition is good composition - but snow scenes have their own personalities. Be patient and take your time - but don't take TOO much time. Winter conditions mean shorter days and ever-changing light - so hurry up while you take your time! Huge expanses of white are just begging for something to contrast with them. An area of bright color can bring an element of depth and interest. One thing to consider when shooting a pure expanse of snow is how "pure" it is. The best composition of a snow scene can be ruined by a bunch of footprints - especially if they're your own - so shoot INTO your scene. Get your shots of the whole field before you walk through it to get that close-up of the tree branch on the other end - because you won't be able to walk back and get that first shot without your footprints. Of course, a set of footprints leading into the woods may be exactly what you're wanting. It's a good idea to have a shot list before you even go out to have an idea of what to watch out for. Falling snow can take on different personalities in a photograph. Fast shutter speeds (1/250 or faster) will freeze the falling flakes making them appear as white dots in your final image. Slower shutter speeds (1/30 or slower) will blur the snow as it falls, creating white streaks in your final image. Of course, slower shutter speeds typically require a firm support like a tripod to hold the camera steady. Some tripods even have retractable spikes on the legs that can come in handy in icy conditions. A tip about tripods and cold weather: wrapping the legs in pipe insulation will keep your hands a lot warmer when positioning the tripod - it also adds a bit of padding when carrying it on your shoulder.

Sometimes a single element in an otherwise empty composition can be interesting.
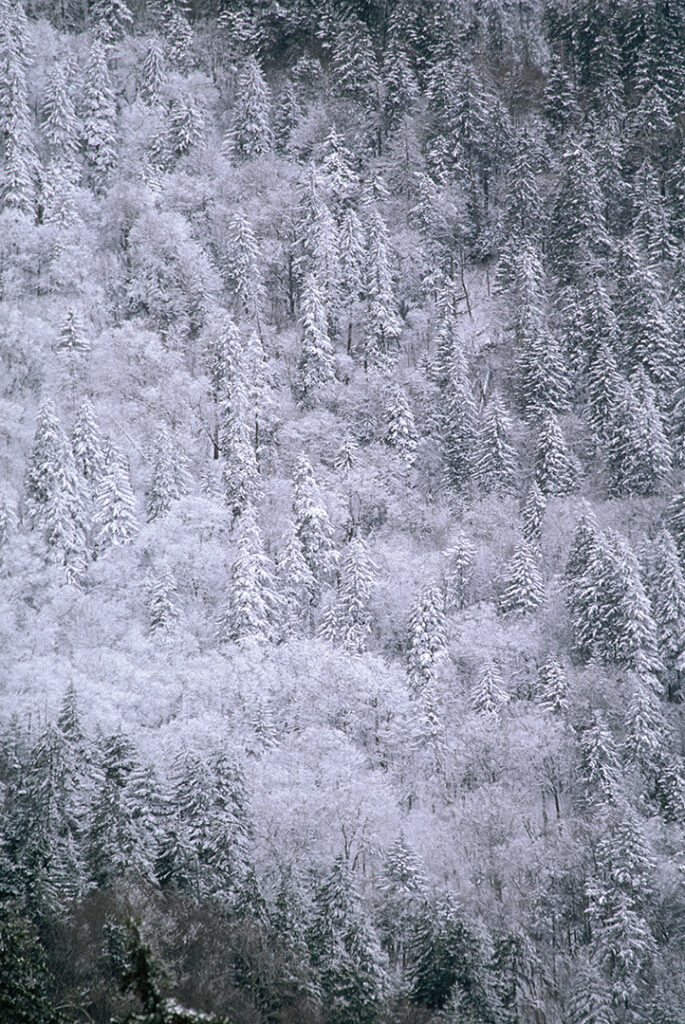
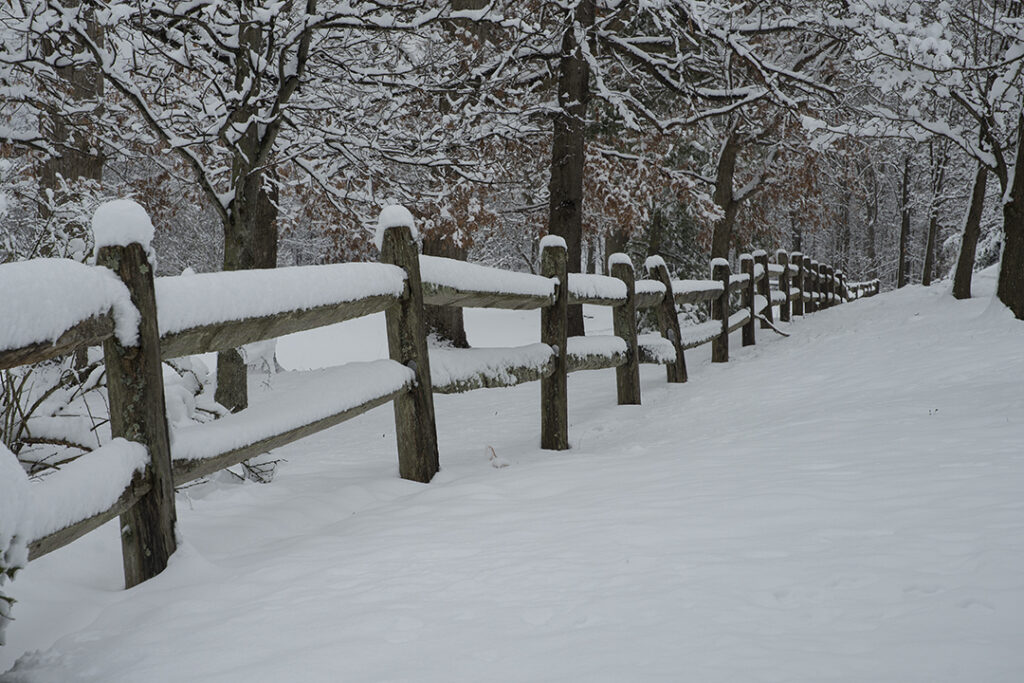
The overcast sky was dull and uninteresting, so this was composed to eliminate any sky, concentrating on the texture of the snow-covered trees.
Get Outside!
To me, the biggest challenge with Winter photography is deciding to get out of my warm home and start shooting. That difficulty disappears as soon as I'm out there, and the opportunity for some great images takes over - so, bundle up and get out there!