Falling For Fall
Well, Fall is here - and soon the trees are going to be popping with color and people everywhere are going to be out with their cameras trying to capture that color. Here are a few tips to help you get the most from the season.
Do Some Research
There are plenty of applications that keep track of peak color times for any location - even the Weather Channel will have complete color reports - so keep your eye on these to determine the best time for peak color at the location you want to shoot. Remember the old adage - spring up, fall down - which means that spring growth will work its way up mountains as the spring progresses, and the fall colors will work their way down the mountains. Peak color will hit at higher elevations first, then come down the mountains. If you’re looking for specific colors, learn the trees. Do a bit of research to find locations that will be rich in the types of trees that will provide that color - Yellow Poplar trees for those bright yellows, Maples for those striking oranges.
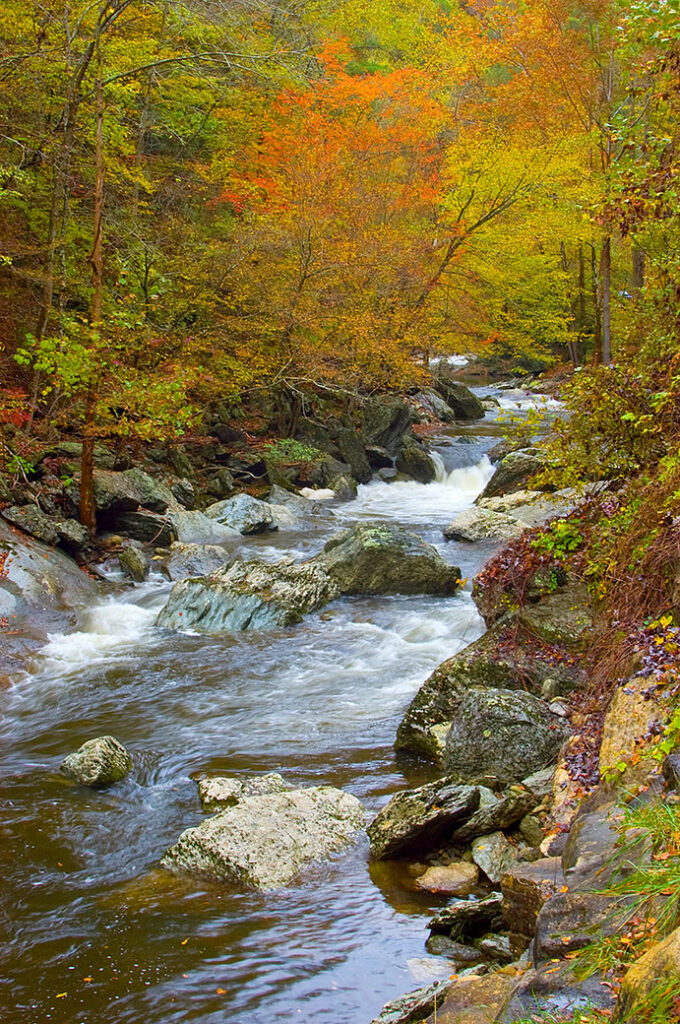
Stream near The Sinks, Smokey Mountains National Park
Timing And Lighting
It's always a good idea to do the research to find the peak color times for the location(s) you're shooting - but it's a goof idea to check the weather report as well. A sunny forecast may sound great, but it's not always ideal for fall color photos. On sunny days, it's best to shoot early in the morning or late in the afternoon with the sun coming from the side to provide drama to your photos. Shooting with the sun behind you will most likely create harsh reflections on the leaves, washing the color out - shooting into the sun will kill the color as well. A deep blue sky, however, can become a dramatic background for the leaf colors, so consider a low angle.
Believe it or not, a calm, overcast day is ideal for fall photos. Overcast provides a soft, even light that can be used all day long, and the lack of harsh reflections and highlights from the leaves that overcast light provides actually saturates leaf colors much more than direct sunlight. Keep in mind, however, that dull, gray skies aren't very photogenic, so you may want to compose you images with minimal sky in the frame.
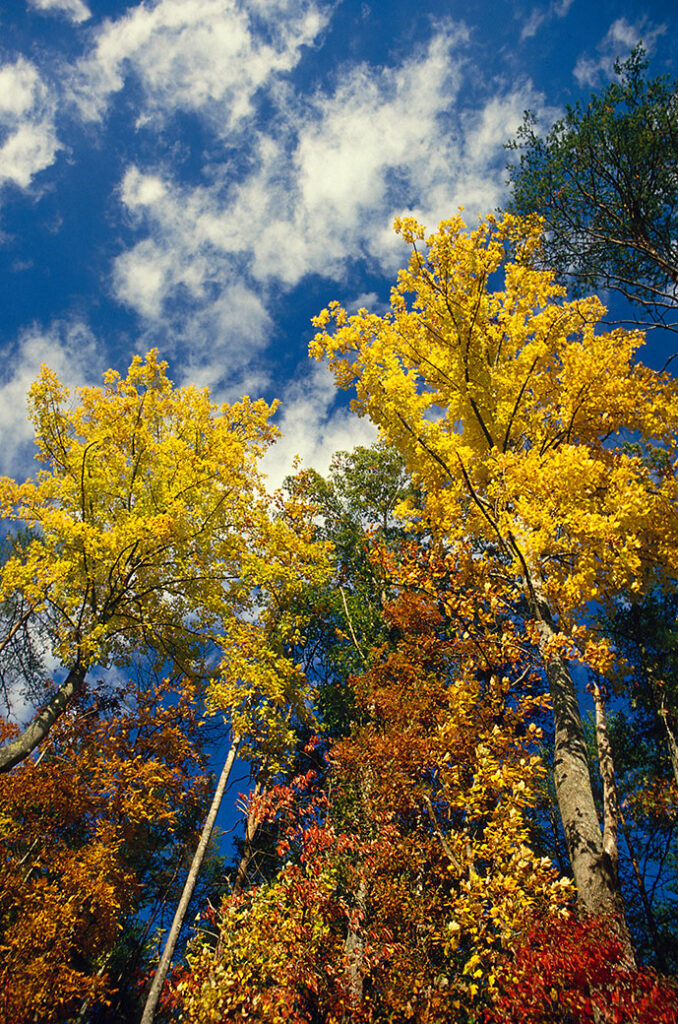
The bright yellow against the deep blue sky makes a dramatic contrast. A few fluffy white clouds help as well. A polarizer was used to saturate the sky and leaf color.
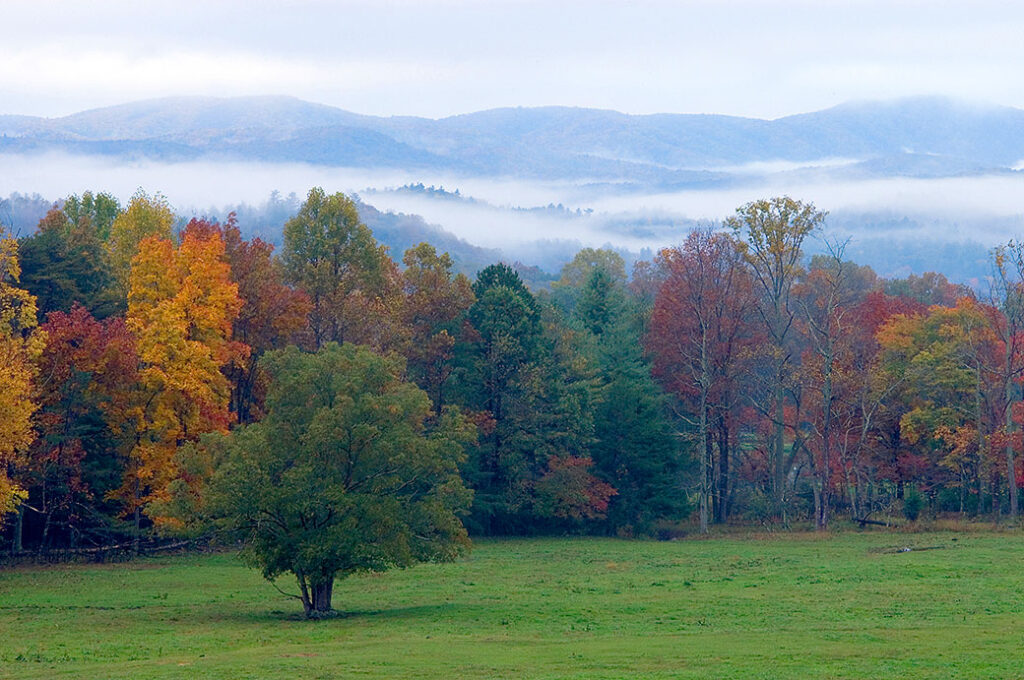
Shot early in the morning before the sun could evaporate the low clouds. The morning overcast also softened the lighting and saturated colors.
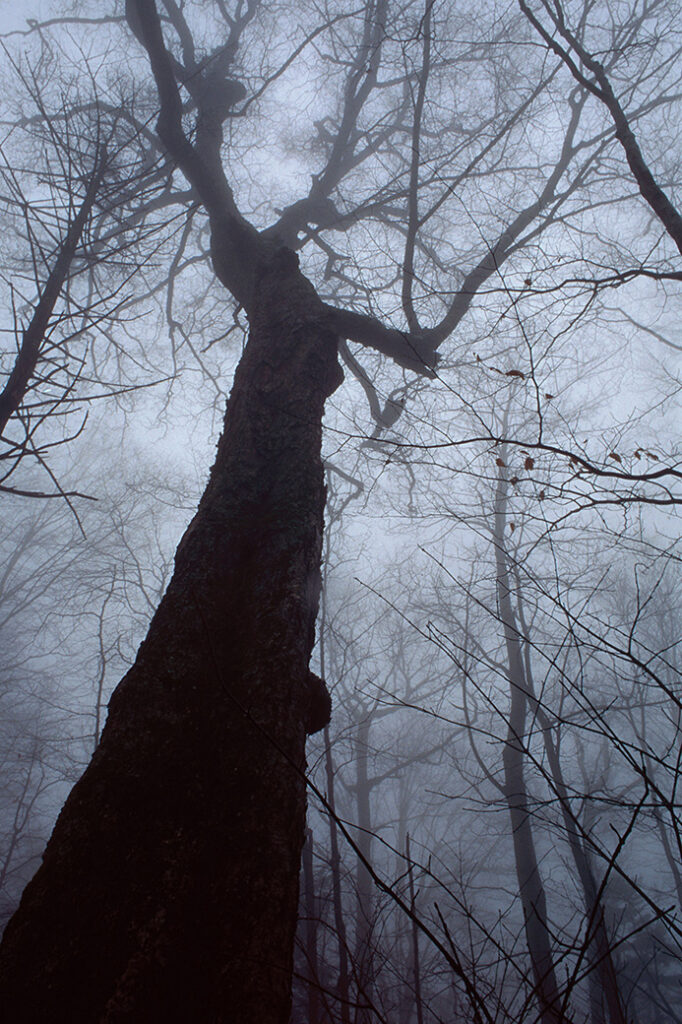
An extremely foggy day may not be ideal fro bright colors - but it sure does create some mood.
More Than just "Overcast"
The cooler weather often brings mist and fog which offer great photo opportunities for moody, atmosphere-thick photos. There are a couple of considerations when shooting in foggy or misty conditions:
1: Foggy or misty conditions mean that a lot of the sun's light is being blocked, requiring either higher ISO settings or a tripod to allow you to shoot at slower shutter speeds.
2: Shooting in a mist does call for a few precautions as far as equipment goes - mainly keeping your equipment as dry as possible. Shower caps are great to keep handy - they can snap over your camera when not in use, and easily pulled off to shoot. If your in a heavy mist (we call that "rain") - consider using a UV filter to compose your photo, removing it right before making the exposure. This will keep water droplets from accumulating on the lens itself.
Get Some Support
Shooting wide expanses of fall color is not much different than any other landscape photography when it comes to maximizing depth of field, and that means shooting at smaller apertures, and that means slower shutter speeds - which means that a tripod is quite helpful. I use a tripod whenever possible - and not just to stabilize my camera. Using a tripod will allow you to take a bit more time to check composition and exposure - the extra time spent pays off with better images.
Some Useful Filtration
Digital photography has all but eliminated the need for filters in the field - color correction can be achieved either in post-production or by adjusting the camera's white balance. There are a couple of filters, however, that are difficult to reproduce in Photoshop. A polarizing filter and a split neutral density filter are two filters that are still very useful in the digital world.
A polarizing filter is an adjustable filter that reduces or eliminates reflections from non-metallic surfaces (water, leaves, water particles in the air, etc.), adjusted by spinning the front of the filter while it's mounted on the lens. The effects of the filter are visible in the viewfinder and can be used with the in-camera meter, but, depending on the amount of polarization "dialed in", can cost as much as 2 stops of light, so slower shutter speeds, wider apertures, or higher ISO will be required. In addition, when using a polarizer to saturate blue skies, keep in mind that polarizers work best at a 90 degree angle to the sun. For this reason, the use of a polarizer with a wide angle lens may produce uneven polarization.
A split neutral density filter (or graduated ND filter) is a filter that is split, with neutral density (cutting the amount of light without otherwise altering it) on the top, and clear on the bottom with a slight graduation where the two sides meet. Split ND filters are used for scenes where the sky is considerably brighter than the land area - cutting down the amount of light from the sky to prevent it from washing out while still maintaining detail in the foreground. Although split ND filters are available as standard, circular filters that mount directly to the lens, I would recommend on that sets into a separate mount attached to the lens (such as the square Cokin filter system) - this allows you to adjust the split of the filter to match the horizon of your composition. The smaller aperture used with a split ND filter, the more pronounced the split line will be in the final image, so if you want a very gradual effect, use wider apertures (or, there are filters available with more or less graduation between the ND and the clear areas). Keep in mind that the filter cuts light from anything within that area of the composition - not just the sky - so trees, buildings, mountains, etc. will be darkened as well if they're within the ND area of the filter.
Crop In A Bit
Many people, when they think of “fall color landscape photography”, automatically reach for their wide-angle lens. A wide angle lens is fine, but don’t get married to it. Sometimes getting a bit closer with a longer lens will produce more stunning images. Instead of the whole mountain, consider a composition that pays particular attention to a small portion of the mountain.
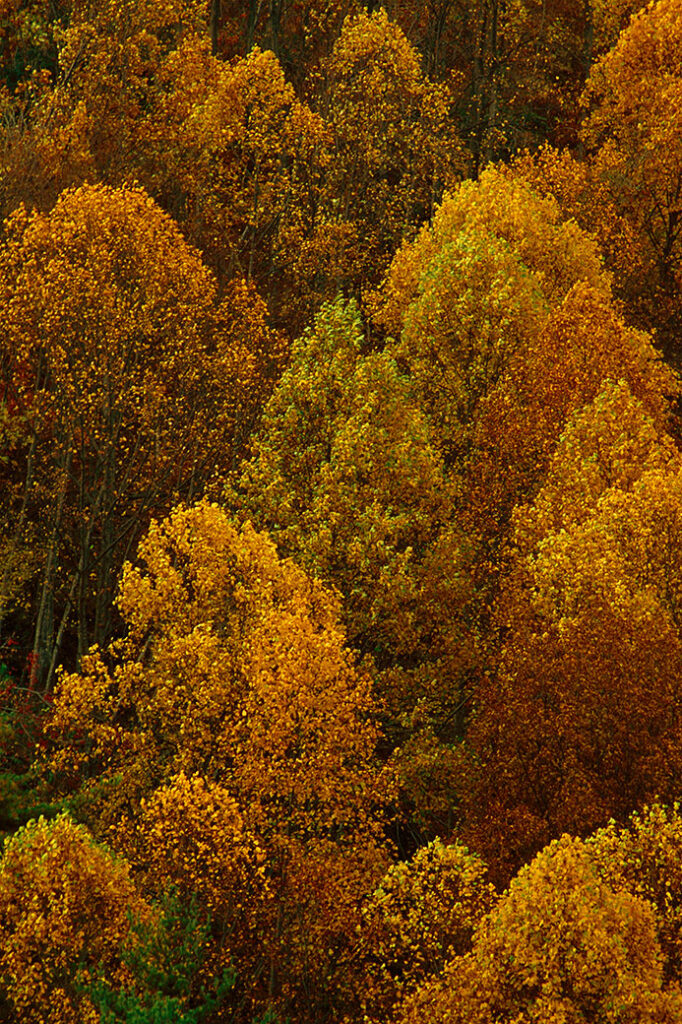
A 20mm lens allowed me to zero in on a section of the hill across the valley from my location.
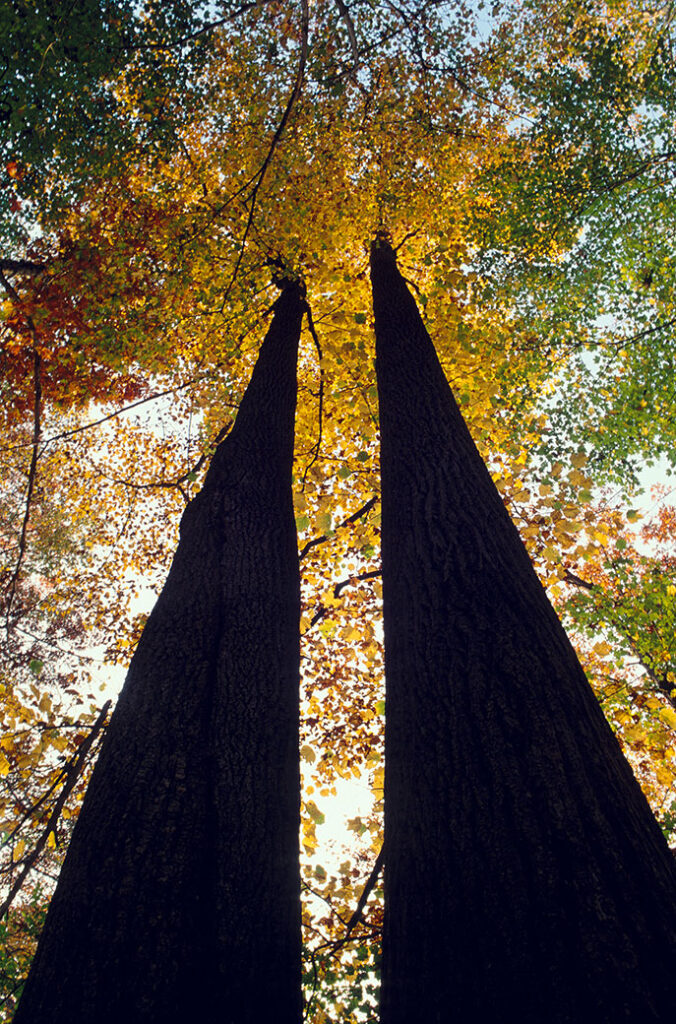
These 2 tree trunks lead the viewer's eye up to the colorful canopy.
Water Water Everywhere
Fall is a great time to work around water. Reflections of color in ponds, lakes, streams, etc. add another dimension to the season. Even moving water, combined with a longer shutter speed, can create interesting abstract images full of reflected fall color. For mirror-like images, a calm, wind-free day is preferable. Also, consider incorporating a foreground element in the water - a stone or log - to break up the reflection and provide a visual anchor for tthe image. When shooting reflections, especially if the water source is relatively close, keep in mind that the reflection is from an object that is a considerable distance further than the water. If you’re incorporating part of the edge of the water source, you will need to allow for additional depth of field to keep it all in focus, if that’s your goal.
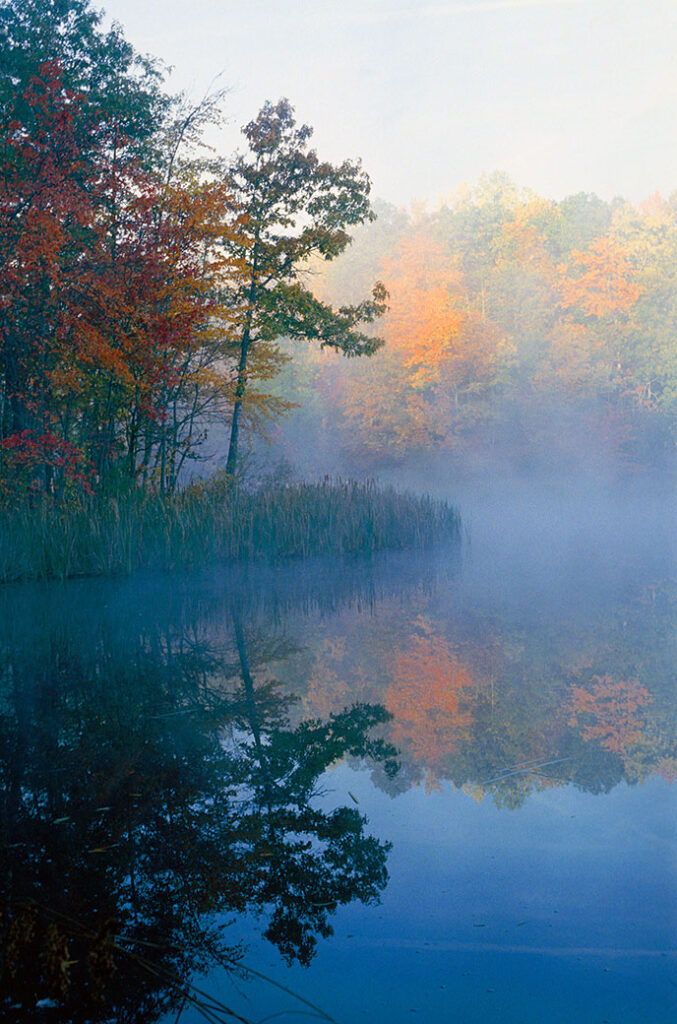
The calm pond creates a nice reflection of the trees and accentuates the early morning mist.
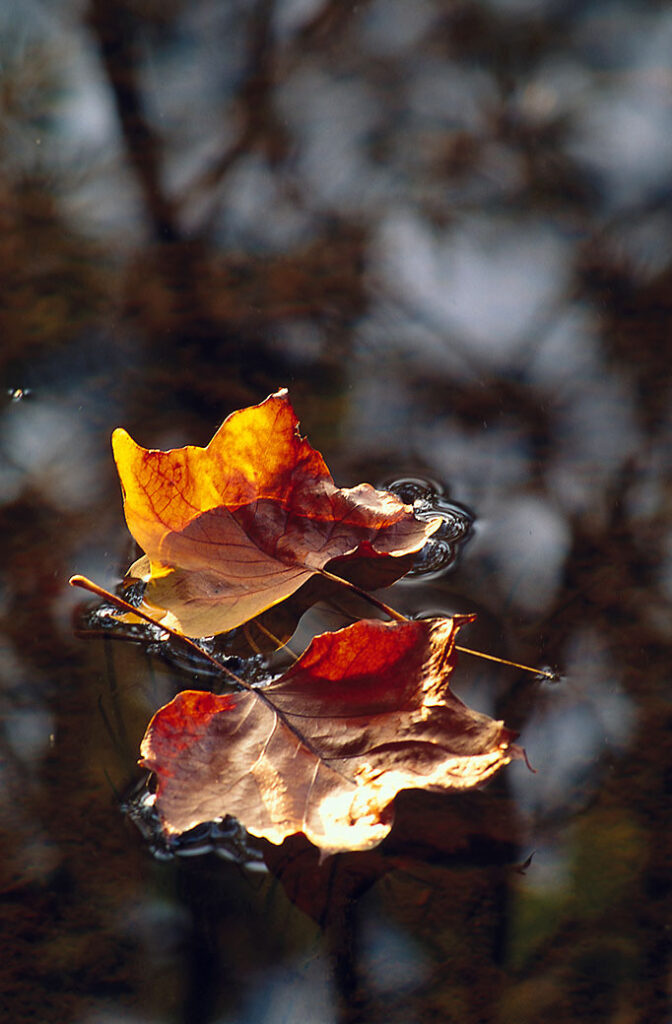
Even a solitary pair of leaves can make for an excellent subject.
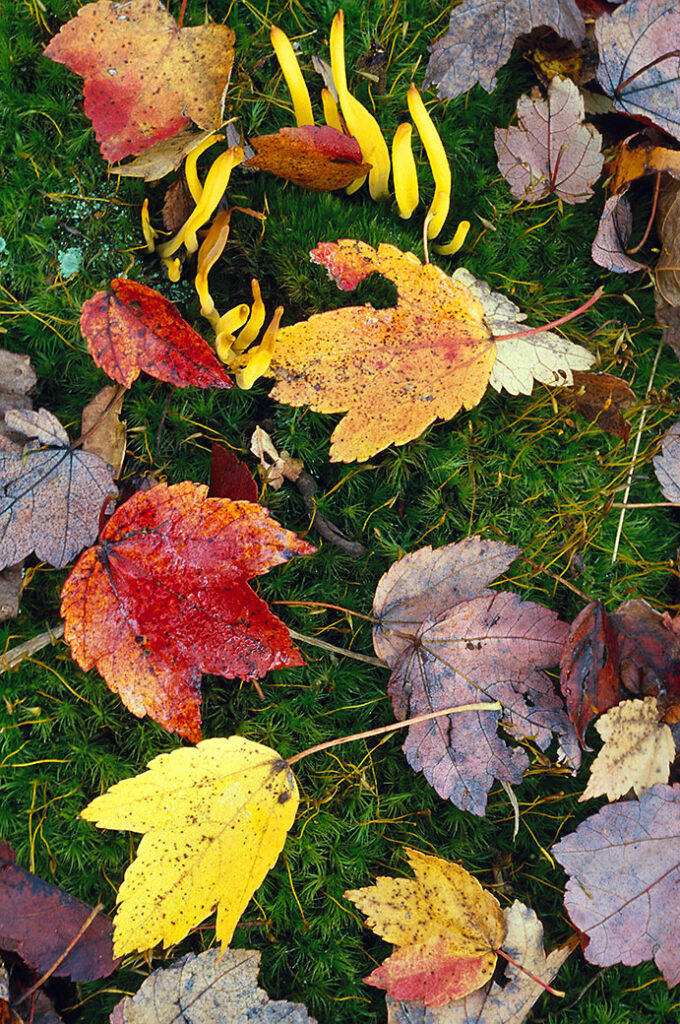
Don't Forget To Look Down - And Maybe Get A Bit Closer
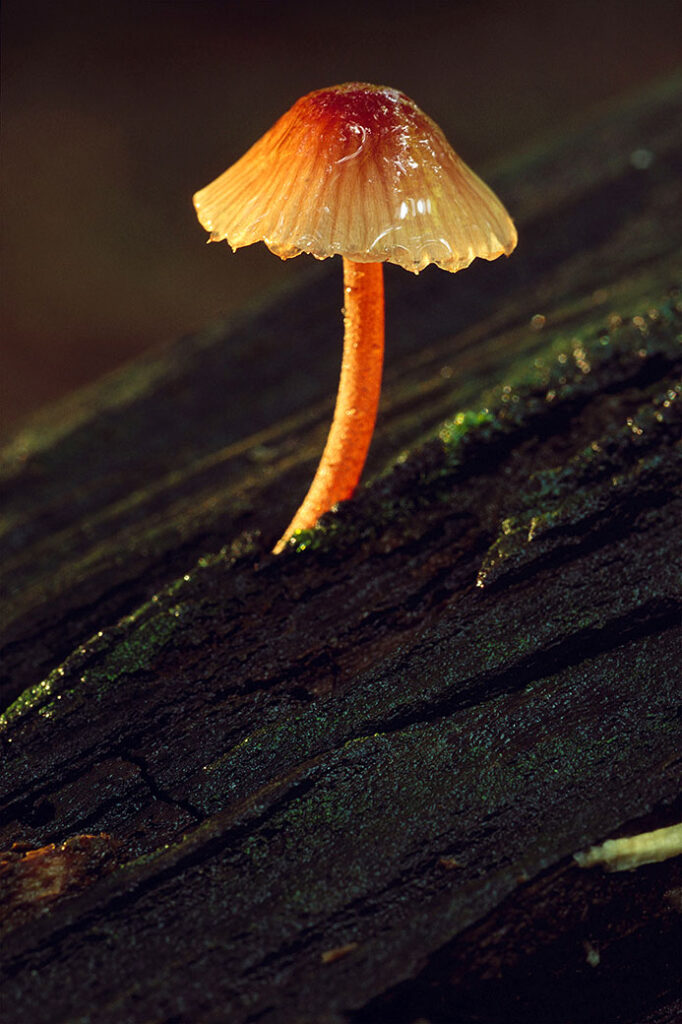
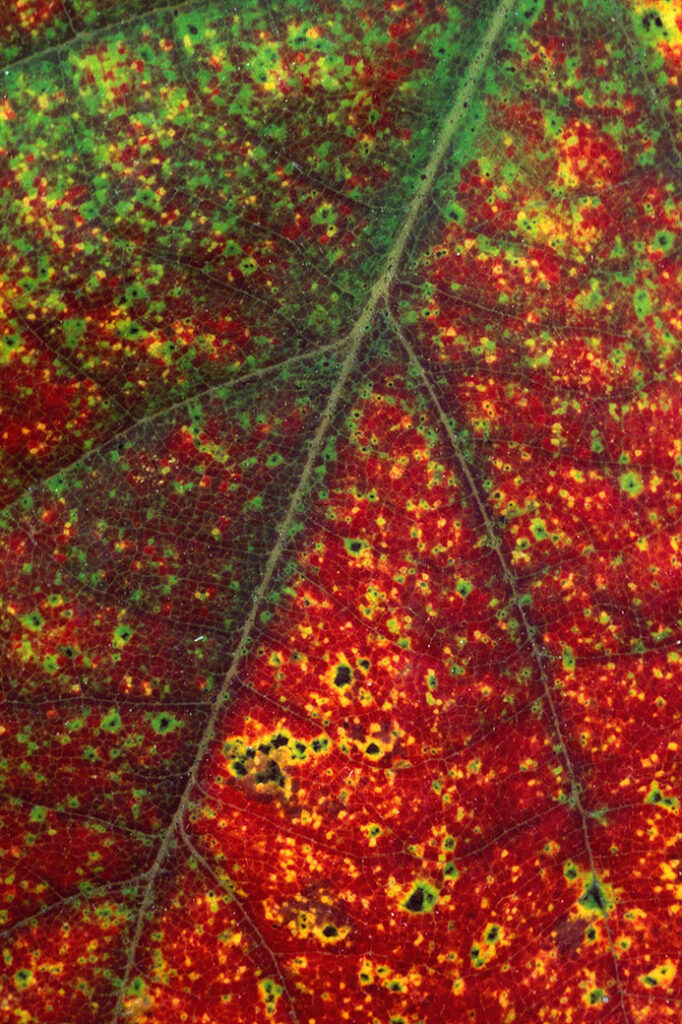
The leaves on the trees are beautiful during the fall - but the leaves on the ground can be beautiful as well. Before walking over them, look down and you may find some interesting subjects to shoot. Fall also offers a vast array of subject matter for macro work. Mushrooms, mosses, ferns - even the detail of a single leaf - can make for wonderful images.
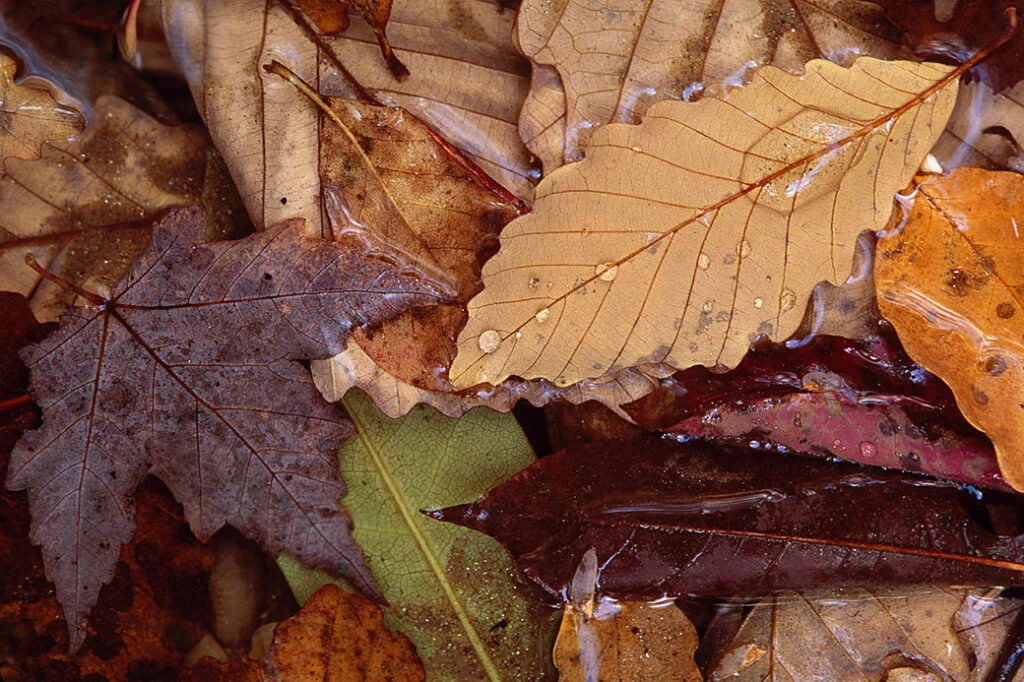 Assorted fallen leaves in a shallow puddle make for an interesting subject.

Fall is a perfect time of the year for interesting fungus and mushrooms.
Keep A Record
While you’re out driving around in the fall color, make note of locations - even specific trees - that may offer idea photo opportunities if you can't stop right then and there to shoot. Even if you are able to shoot the scene right then, you may want to take a note of the location and return when the lighting is different (also make a note of the direction the scene is facing - would it look better in early morning light, or early evening?). You may want to record the date and times of photos as you take them, as reference for future years or to compare images from year to year. The main thing - enjoy the season and get some great shots!